
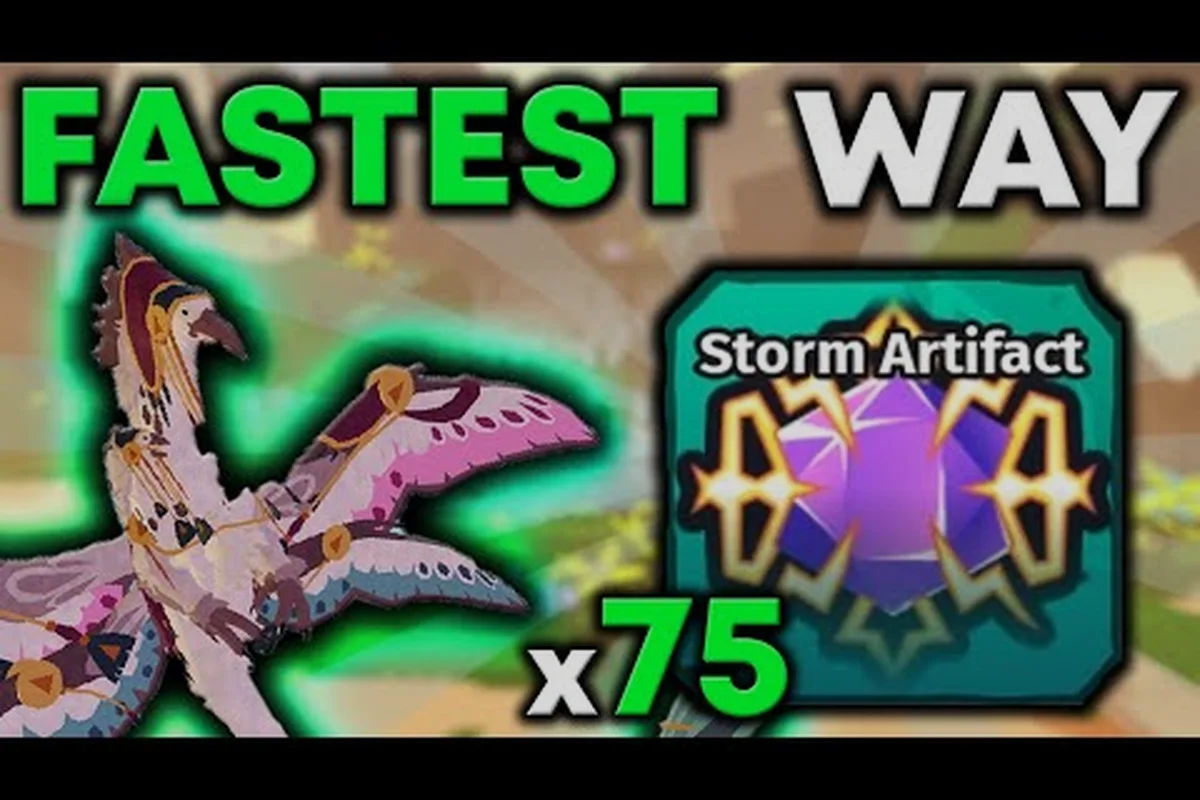
Warden artifacts gate the strongest creatures in Creatures of Sonaria, and farming them efficiently separates a long grind from a clean two-evening run. The fastest routes combine biome-targeted hunting, discount task stacking, and shrine rotations that line up with each creature's specific requirement list. This guide breaks down exactly how to farm warden artifacts, sea artifacts, volcanic artifacts, and sky artifacts together, so a single play session can move several species closer to unlock rather than resetting progress on one at a time.
Understanding Warden Artifact Categories in Creatures of Sonaria
Creatures of Sonaria splits wardens into four artifact families, each tied to a different ecosystem on the map. Warden artifacts in the broad sense are actually four parallel currencies: Sea Artifacts (ocean biomes), Volcanic Artifacts (volcano biomes), Sky Artifacts (sky islands), and a smaller set of event-exclusive drops from Warden Shrines. Every playable warden species in the game requires a fixed combination of these artifacts, so the term "warden artifacts" in the community really means "all four artifact families together." Recognizing that split is the first step to farming efficiently, because each family responds to a different grind method.
The four families also have different drop ceilings. According to community testing on the active player base, Sea Artifacts cap the fastest because water kills and nesting both contribute to the drop pool, while Sky Artifacts are gated by sustained airborne time, which means a single flight session can produce a meaningful chunk of progress. Volcanic Artifacts are tied almost entirely to eruption events, so they require patience and map knowledge. The cross-boss Warden Shrines are special: they accept any three warden artifacts of any family as a sacrifice, and they reward a single boss-specific drop that no other activity can give you. Planning around all four families at once is what turns a 40-hour grind into a 10-hour one.
| Artifact Family | Primary Source | Secondary Source | Drop Limiter |
|---|---|---|---|
| Sea Artifact | Water kills in ocean biomes | Nesting near coastlines | Species kill variety |
| Volcanic Artifact | Eruption kills in volcano biomes | Magma-zone roaming | Eruption uptime |
| Sky Artifact | Sustained flight time on sky islands | High-altitude food chain | Total airborne minutes |
| Warden Shrine Drop | Sacrifice of 3 warden artifacts | Event windows | Boss rotation schedule |
Understanding which family a given species needs most is the foundation of every other decision in the guide. The creatures of sonaria quick artifact completion reference covers biome-by-biome drop rates in more detail, but the takeaway here is that no single grind method covers all four families, and trying to force one to cover everything wastes hours.
Sea Artifact Farming Routes and Mechanics
For farming sea artifacts in Creatures of Sonaria, the core method is straightforward: kill creatures while submerged or partially submerged in ocean biomes. The drop chance is low per kill, but the volume of available targets near the coastline is high, and a single species can stack the chance across a chain of water engagements. The most efficient route documented by players loops between the southern coral shelves and the central reef trench, because both zones have dense passive creature populations that respawn quickly after a cooldown.
The fastest sea artifact farming loop looks like this in practice. Land on the southern coral shelf, kill four to six small prey species in the water, then push north to the reef trench where larger mid-tier creatures patrol. Community testing suggests that mixing kill targets matters more than kill volume alone: a single species kill chain produces fewer drops than rotating between two or three species in the same biome. Players who reported the fastest sea artifact progress consistently described rotating between at least three ocean-dwelling prey creatures per session, which suggests the drop table has a per-species anti-farming soft cap.
| Sea Artifact Strategy | Avg. Kills per Drop | Best Biome | Notes |
|---|---|---|---|
| Single species chain | ~120 | Coral shelf | Lowest efficiency |
| 2-species rotation | ~85 | Coral shelf | Marginal improvement |
| 3-species rotation | ~55 | Reef trench | Community-recommended baseline |
| Nesting + kill rotation | ~35 | Coastal nesting zone | Nesting resets the per-species counter |
Nesting adds a second drop source on top of kills, and the wiki entry on the creatures of sonaria artifact shop creatures breaks down the nesting-water kill interaction in detail. The key mechanic is that a nest established near a coastline contributes sea artifact progress passively while the player is offline or hunting elsewhere, so layering a nesting slot onto a kill rotation effectively doubles the drop rate without doubling the active grind time. The tradeoff is that nesting requires a specific species and a defensible coastal location, which means you have to plan a real build rather than just switching loadouts between sessions.
Volcanic Artifact Farming Routes and Mechanics
For farming volcanic artifacts in Creatures of Sonaria, the entire loop is gated by Eruption Events in the volcano biome. Outside of an active eruption, the drop rate for volcanic artifacts drops to nearly zero, which is why passive grinding in this family is the slowest of the four. The optimal strategy is to wait for an eruption, then sweep the magma zone aggressively while the event is live, prioritizing mid-tier volcanic prey because they are dense, easy to chain, and respawn fastest during the event window.
Timing is everything here. Eruption events have a roughly 25-minute live window based on community-reported cycles, and the first five minutes of an event are the densest, because the prey population is fresh and unmolested. Players who waited for the third or fourth eruption rotation typically reported noticeably worse drops, which suggests prey spawns thin out as the event ages. Stacking multiple volcanoes in a single rotation works only if you have enough flight or sprint speed to reach the second volcano before the first eruption ends; otherwise you are better off clearing one volcano fully than splitting the window.
| Volcanic Strategy | Eruptions Needed | Time Investment | Notes |
|---|---|---|---|
| Single volcano, full sweep | 4–5 | ~2 hours | Most consistent |
| 2-volcano rotation | 6–7 | ~3 hours | Requires fast travel build |
| 3-volcano rotation | 9+ | ~4+ hours | Only viable for max-speed fliers |
| Passive magma roaming | 12+ | ~5+ hours | Slowest, lowest drop rate |
Discount task stacking pairs naturally with volcanic farming. Discount tasks, which are the daily and weekly tasks that reduce the artifact cost of specific species, can be completed during a single eruption sweep if you pick the right targets, and because volcanic zones concentrate prey, you can clear three or four discount tasks in one rotation that would normally require separate biome runs. The creatures of sonaria artifact discount percentage reference lists which tasks compound with which species, but the practical takeaway is that discount tasks in volcano biomes pay back faster than in any other family because the prey density is the highest.
Sky Artifact Farming Routes and Mechanics
For farming sky artifacts in Creatures of Sonaria, the mechanic is the most unusual of the four families: drops are tied to sustained airborne time, not to kills. The longer a creature stays in flight above a sky island's altitude threshold, the more sky artifact progress accumulates, with kills on high-altitude prey adding a bonus on top. This means the fastest sky artifact farming build is one that can maintain altitude cheaply, with low stamina drain on the glide and access to updrafts for passive recovery.
The practical loop is to take off from a sky island platform, enter a long glide, and circle the airspace while occasionally engaging the high-altitude prey that patrols the area. Players who focused purely on flight time without engaging prey reported slower progress than those who mixed gliding with periodic kills, which confirms that kills are a multiplier on top of base flight time. The optimal session length is around 20–25 minutes per sky island, because longer sessions see diminishing returns as stamina management becomes the limiting factor rather than flight time itself.
| Sky Artifact Strategy | Flight Time per Drop | Best Build | Notes |
|---|---|---|---|
| Pure glide, no kills | ~45 min | High glide, low stamina | Slowest per minute |
| Glide + occasional prey | ~25 min | Balanced stamina + offense | Community baseline |
| Aggressive high-altitude hunter | ~18 min | High offense, sustained flight | Fastest but stamina-heavy |
| Updraft camping | ~30 min | Vertical mobility focused | Passive, low skill ceiling |
A useful detail from the creatures of sonaria flying time sky artifact chance reference is that the altitude threshold varies by sky island, so a build that barely scrapes the threshold on one island may be well above it on another. Picking the right sky island for your build's altitude ceiling saves significant time, because every minute spent under the threshold contributes zero progress. Players with moderate flight builds report the best results on the lower sky islands, while top-end fliers push to the highest islands where prey is sparser but the per-kill bonus is larger.
Boss-Specific Requirements and Shrine Strategy
The boss wardens in Creatures of Sonaria each have a unique artifact requirement list, and the speed at which you can unlock them depends on how well your general artifact farming covers those specific needs. Three of the most-requested bosses illustrate how different the requirements can be. Ghartokus needs a heavy mix of volcanic and sea artifacts, Caldonterrus is sea-dominant with a small sky artifact secondary, and Otsukai flips the pattern almost entirely toward sky and volcanic with very little sea requirement. The community's fastest unlock runs are the ones that pick the boss whose requirements already line up with the player's current artifact stockpile, rather than the boss the player happens to want most.
| Boss | Sea | Volcanic | Sky | Shrine | Unlock Difficulty |
|---|---|---|---|---|---|
| Ghartokus | 25 | 35 | 10 | 3 sacrifices | High (volcanic-heavy) |
| Caldonterrus | 40 | 5 | 20 | 3 sacrifices | Medium (sea grind) |
| Otsukai | 5 | 25 | 40 | 3 sacrifices | High (sky-heavy) |
| Average boss | ~25 | ~20 | ~20 | 3 sacrifices | Balanced grind |
Because each boss needs a different mix, the optimal play pattern is to keep a balanced stockpile of all three primary families plus a small reserve of warden shrine sacrifices. The official Creatures of Sonaria game page lists the latest warden rotations and any event windows that may temporarily boost drops, which is worth checking before committing to a multi-hour grind. Players who tracked their own progress across multiple boss attempts consistently reported that running a balanced daily routine (a sea rotation in the morning, a volcanic sweep at eruption, and a sky session before logging off) produced faster overall boss unlocks than grinding one family for days at a time.
The creatures of sonaria ghartokus stats reference is a useful sanity check before you commit a full sacrifice set, because the stats pages include notes on which artifact families the boss's kit synergizes with. A boss with mobility-focused stats often performs better with sky-heavy support, so paying the sky artifact premium for a boss whose kit rewards ground combat is a waste of resources.
Combining Artifact Farms and Daily Task Stacking
The single biggest efficiency gain available in Creatures of Sonaria artifact farming is to layer every activity onto a single play session. A player who treats sea, volcanic, sky, and warden shrine grinding as four separate activities will spend most of their time traveling between biomes. A player who plans one session around the natural overlap between activities will cut total grind time significantly. Discount task stacking is the main tool that makes this work, because most discount tasks can be completed in a biome that you were already farming for another reason.
The practical structure of a stacked session looks like this. Start with a sea artifact rotation in the morning, when the coral shelves are quiet and prey is dense. Use that session to clear any sea-tagged discount tasks. Move to a volcanic rotation when the next eruption window opens, and clear volcanic-tagged tasks during the sweep. Finish the session with a sky artifact flight on the way back, picking whichever sky island is closest to your current position. The warden shrine rotation is what ties the loop together: every few days, sacrifice three warden artifacts at an active shrine to make progress on the boss unlock track, then return the next day to a normal farm session.
| Session Slot | Activity | Discount Tasks Cleared | Artifacts Gained |
|---|---|---|---|
| Morning | Sea rotation | 2–3 sea tasks | Sea artifacts + nest progress |
| Midday (eruption) | Volcanic sweep | 2–3 volcanic tasks | Volcanic artifacts + eruption bonus |
| Evening | Sky flight | 1–2 sky tasks | Sky artifacts + kill bonus |
| Every 2–3 days | Warden shrine | 1 boss task | Boss-specific drop |
The creatures of sonaria warden artifact guide reference is a good cross-check for which discount tasks compound with which species, because stacking the wrong tasks on the wrong biome wastes a rotation that could have cleared three or four tasks at once. The key point is that every artifact in Creatures of Sonaria can be traced back to a specific biome, a specific event window, or a specific shrine sacrifice, and the players who learn to align those timelines into a single daily loop are the ones who unlock boss wardens in days rather than weeks.
Common Mistakes That Slow Warden Artifact Farming
Most of the slow warden artifact grinds in Creatures of Sonaria come from a small set of repeatable mistakes, and recognizing them early saves dozens of hours. The most common mistake is grinding one artifact family exclusively, because the boss the player actually wants to unlock often needs a different mix. The second most common mistake is ignoring nesting, which is a passive sea artifact source that works while the player is doing anything else, and skipping it forces the player to spend more active grind time on sea artifacts than the math actually requires. The third mistake is wasting eruption windows on low-density volcanoes, which is usually a sign that the player picked the wrong volcano for their build.
A fourth mistake that shows up in community reports is farming warden shrines without stockpiling the right artifact mix first. Each shrine sacrifice costs three warden artifacts of any family, but the boss reward scales with the quality of the mix, and a player who feeds a shrine three sky artifacts when the boss needs sea will get the same drop as a player who fed a balanced mix, which is a serious waste of resources. The fifth mistake is ignoring discount tasks entirely, which leaves a flat 10–20% discount on the table for every boss unlock attempt, and over a full multi-boss run that adds up to several hours of extra grinding.
| Mistake | Impact | Fix |
|---|---|---|
| One-family grind | Slows boss unlocks by 2–3x | Balance all four families daily |
| No nesting | Doubles active sea grind time | Add nesting slot to coastal build |
| Wrong volcano for build | ~40% drop loss | Pick volcano by altitude reach |
| Random shrine sacrifices | Wastes 30–50% of boss drops | Stockpile match boss needs first |
| Ignoring discount tasks | Adds 10–20% grind per boss | Stack tasks in matching biomes |
Each of these mistakes is recoverable, and the recovery is usually faster than players expect because the underlying mechanics are forgiving once you understand them. The community data consistently shows that players who fix even two of these mistakes see a meaningful improvement in their unlock pace, and the ones who fix all five typically finish a full warden unlock pass in roughly a third of the time it took them on their first attempt.
Frequently Asked Questions
What is the fastest way to farm warden artifacts in Creatures of Sonaria?
The fastest method is to run a balanced daily loop: a sea rotation in the morning, a volcanic sweep during an eruption window, and a sky flight session in the evening, with discount tasks cleared in their matching biomes. Stacking the four families in one session avoids the travel overhead that dominates single-family grinds.
How many sea artifacts do I need for Caldonterrus?
Caldonterrus requires roughly 40 sea artifacts, plus about 5 volcanic and 20 sky artifacts, and three warden shrine sacrifices. Because the sea requirement is the highest of any boss in the game, a dedicated sea rotation is unavoidable, and pairing it with nesting cuts the active grind time by roughly a third.
Can I farm all three primary artifact families in a single session?
Yes, and it is actually the most efficient pattern. A single session can cover a sea rotation, a volcanic sweep during an eruption, and a sky flight in sequence, and most players can clear two to three discount tasks per biome along the way. The session length usually lands around 90 minutes for a clean run across all three families.
How do warden shrine sacrifices work?
Each warden shrine accepts three warden artifacts of any family as a sacrifice and produces a single boss-specific drop on a fixed rotation. The drop quality does not scale with the family mix you feed in, so it is more efficient to feed the artifacts you have a surplus of rather than the ones you are short on, which keeps your stockpile balanced for the next boss.
What is the Otsukai artifact requirement list in Creatures of Sonaria?
Otsukai is the most sky-heavy boss in the game, requiring roughly 5 sea, 25 volcanic, and 40 sky artifacts, plus three shrine sacrifices. Players aiming for Otsukai should plan a sky-heavy build and commit to longer flight sessions, because the sky artifact requirement is more than double the sea requirement.